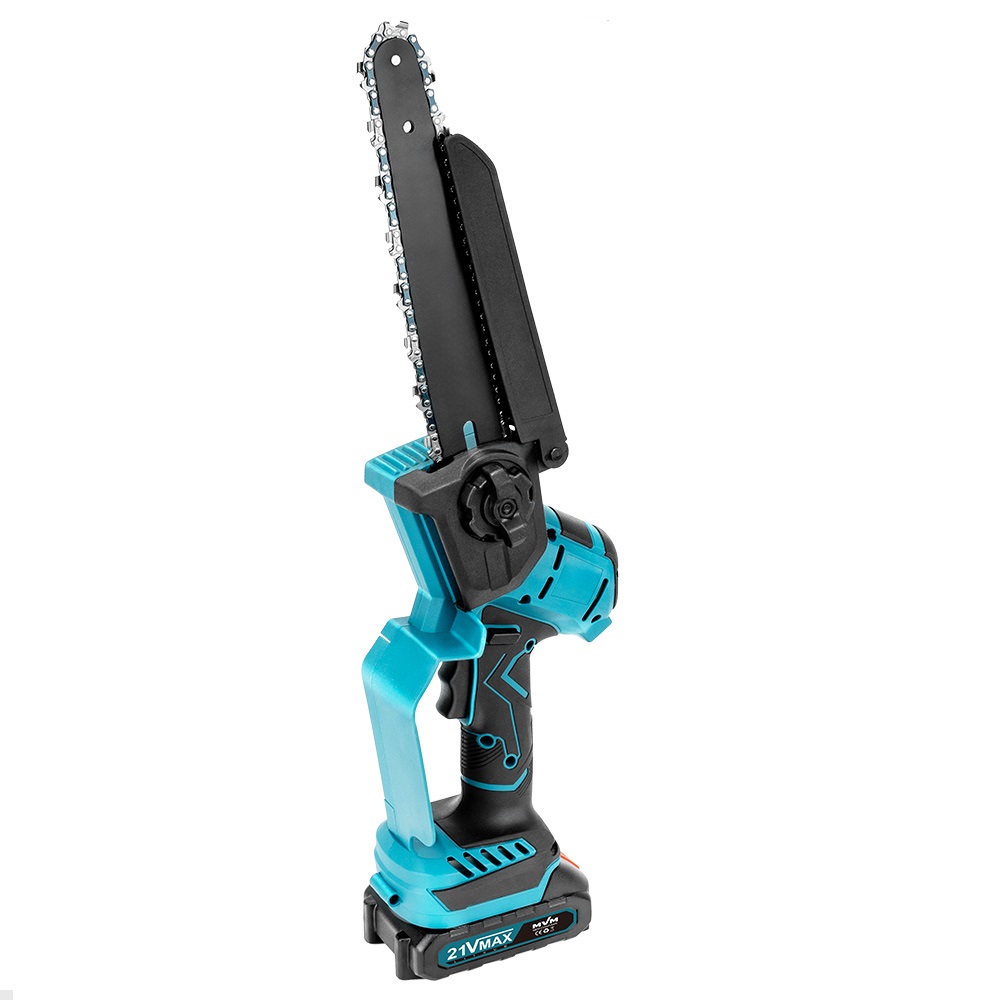
How to Replace Cordless Chainsaw Chain
Want to know how to change a cordless chainsaw chain? This beginner-friendly guide clearly breaks down the process step-by-step, from safe power-off and tool preparation to disassembling the old chain, installing the new chain, and adjusting the tension. Precisely compatible with cordless chainsaw models, it makes chain replacement efficient and effortless, while also cleaning and maintaining parts to prevent jamming and chain skipping, extending tool life and easily solving the problem of chain wear and replacement!
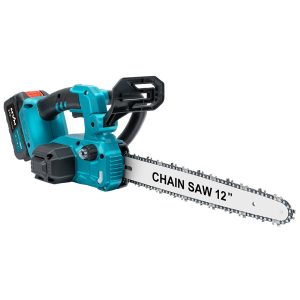
Knowledge about Cordless Chainsaw Chain
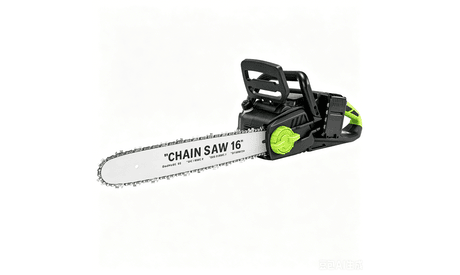
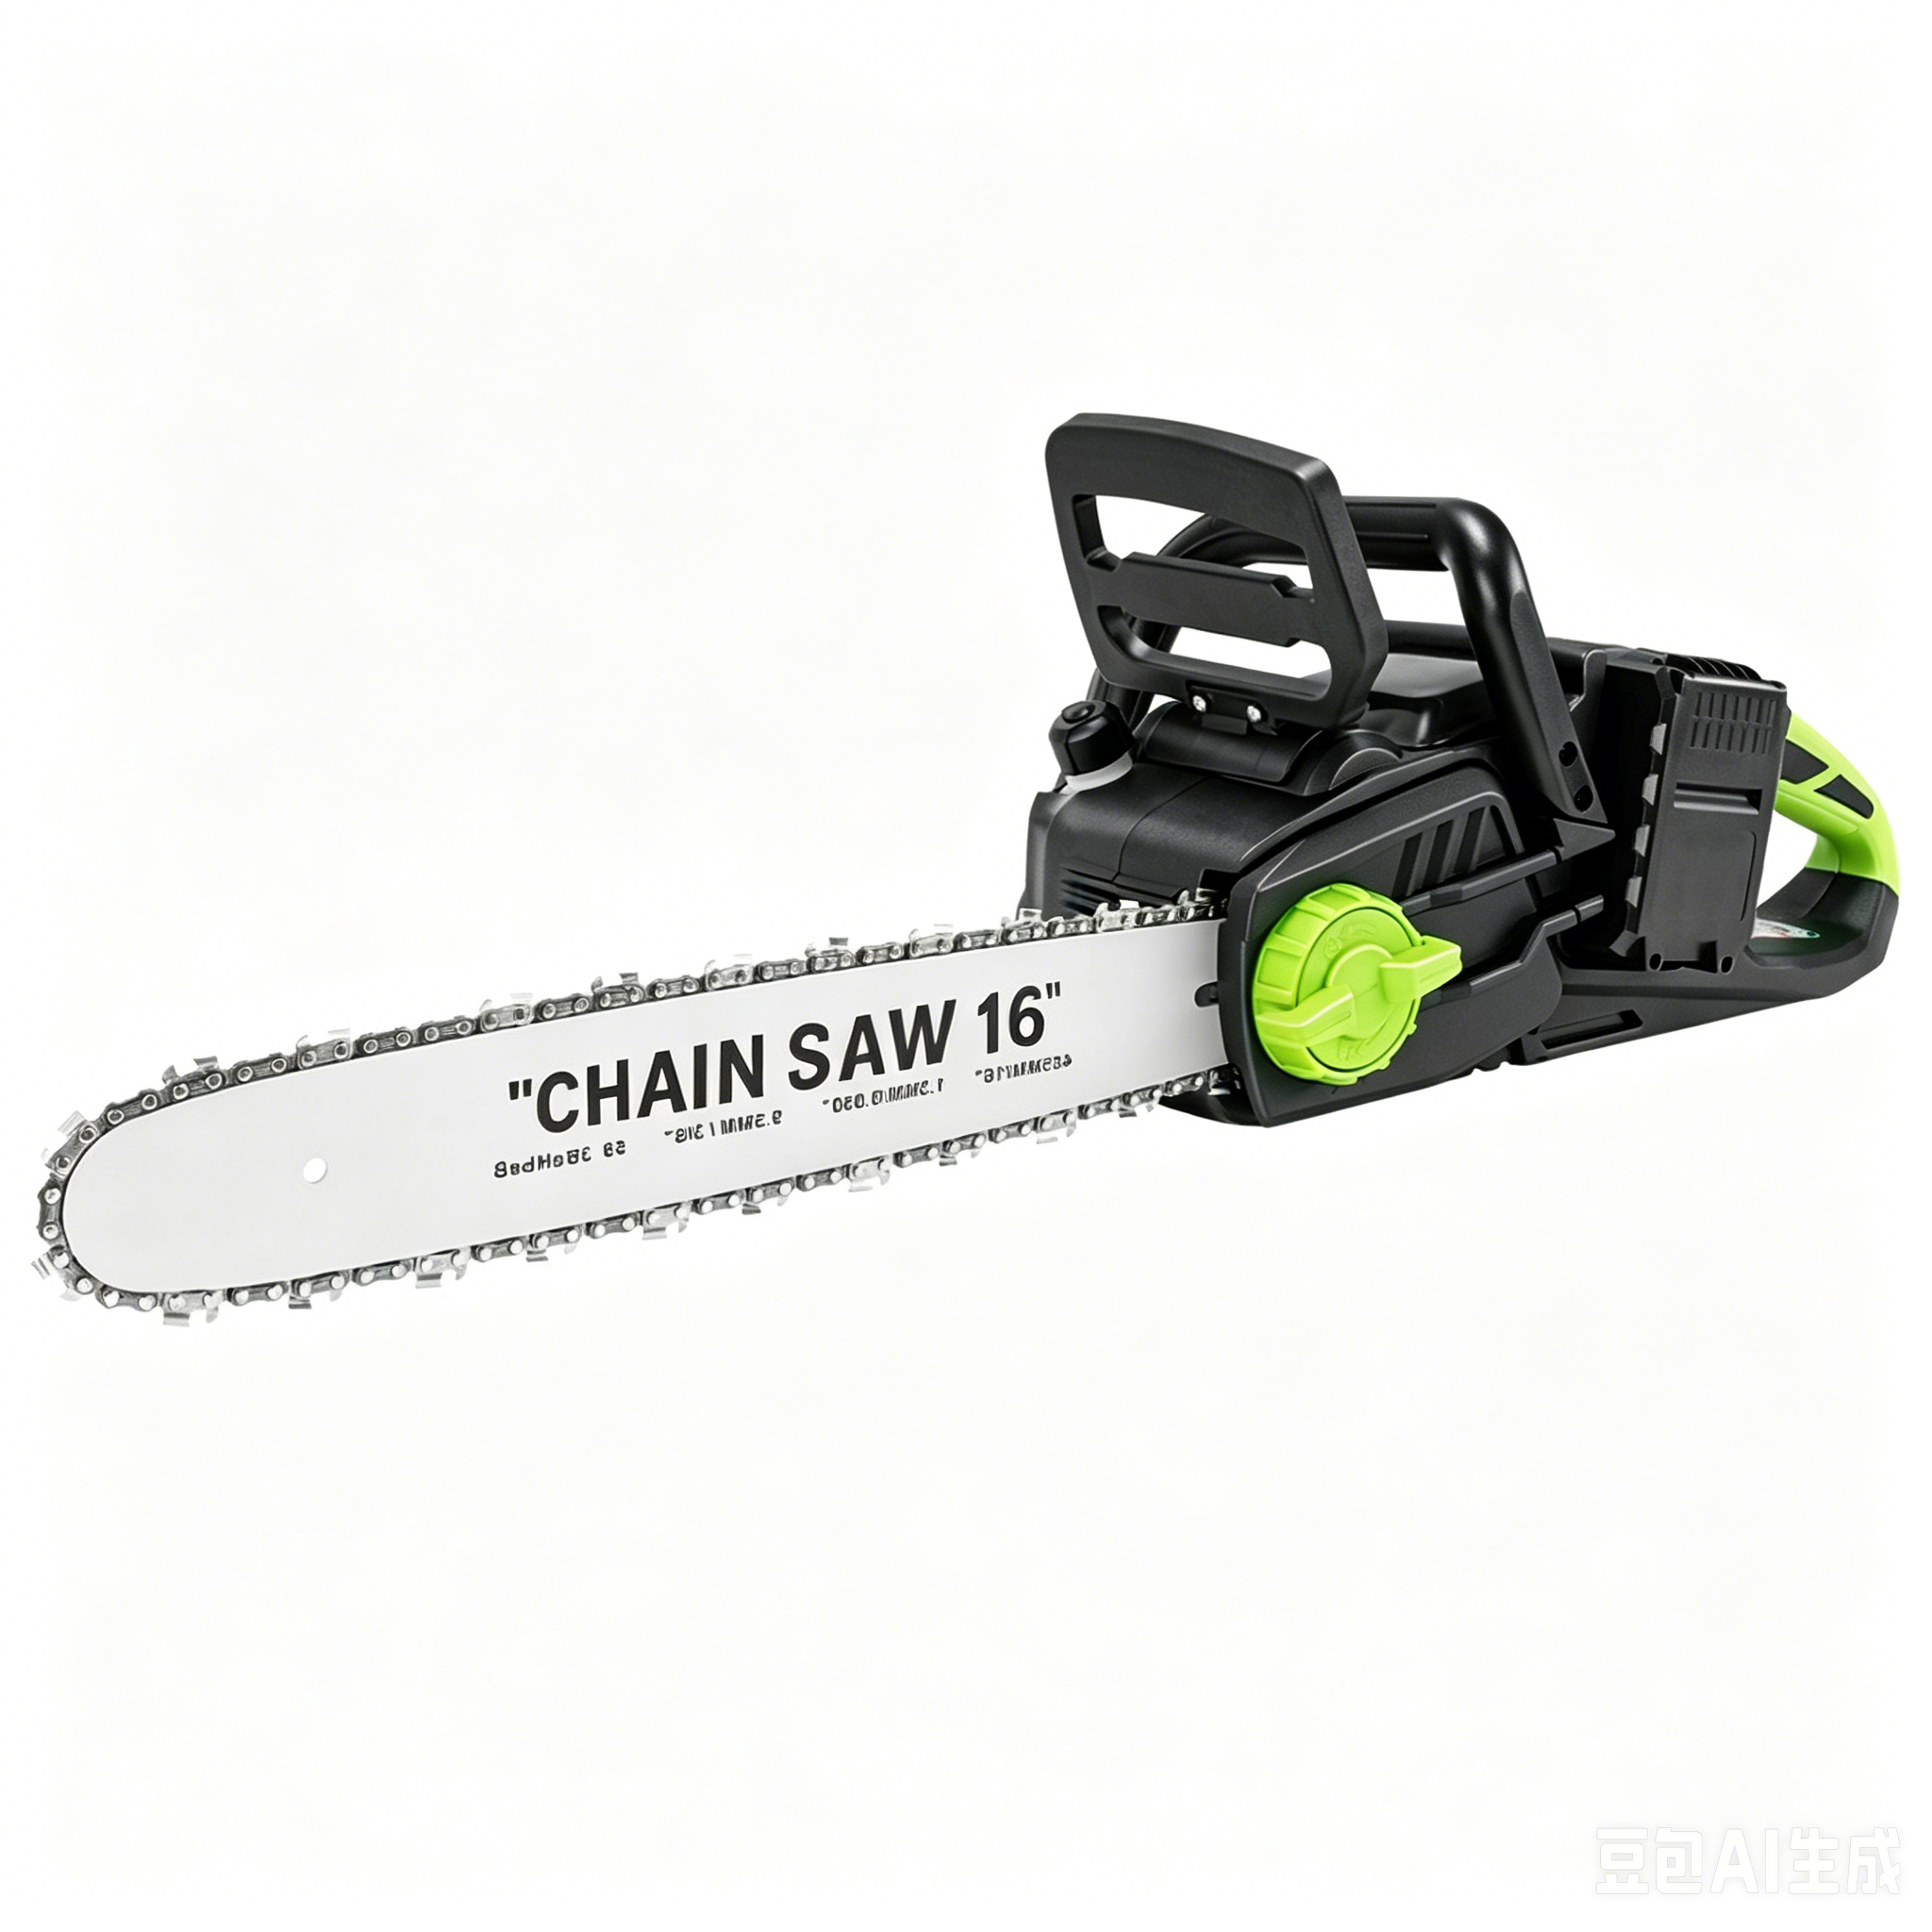
The cordless chainsaw chain is the core cutting component, composed of chain links with cutting teeth, and must be precisely matched with the chainsaw guide plates and sprockets. Driven by a motor, it rapidly cuts wood through the blades on the chain links, adapting to the cutting needs of wood of different diameters. High-quality chains are strong and wear-resistant, requiring regular checks of tension and wear, timely cleaning, lubrication, or replacement to prevent jamming and chain skipping, ensuring cutting efficiency and extending the chainsaw’s lifespan.
Common Cordless Chain Types
Common cordless chains are mainly classified by structure and cutting method, with the core characteristics being suitability for different types of wood and operational needs:
Low Profile Chain: Lower cutting teeth, high safety, less prone to jamming, easy to operate, suitable for beginners or everyday home use, and compatible with lightweight cordless chainsaws.
Standard Profile Chain: Cutting teeth of moderate height, balancing cutting efficiency and stability, highly versatile, compatible with most household and small professional-grade cordless chainsaws, and can cut various types of wood.
Full Chisel Chain: Sharp, chisel-shaped cutting teeth, fast cutting speed and high efficiency, suitable for professional work or cutting softwood, but slightly less wear-resistant and requires frequent maintenance, compatible with high-power cordless chainsaws.
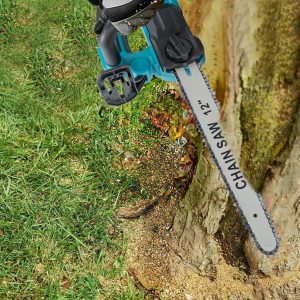
The Importance of Replacing Chain
After prolonged use, cordless chains are prone to problems such as dulled blades, stretched and deformed links, rust, and jamming. In severe cases, teeth may chip or break, leading to a significant decrease in cutting efficiency, requiring repeated pressure to cut, and potentially causing safety hazards due to chain skipping or detachment. Furthermore, incompatible or damaged chains increase motor load, accelerate the aging of components such as guide plates and sprockets, and affect the overall performance of the chainsaw.
Timely replacement with a suitable new chain is crucial for ensuring operational safety and efficiency. A new cordless chainsaw chain has a sharp blade and even tension, enabling quick and smooth cutting of wood, saving effort and time. It also reduces friction between components, protecting the core structure of the chainsaw, extending tool life, and avoiding operational risks caused by faulty old chains. This results in more stable and smoother cutting operations, adapting to the cutting needs of different types of wood.
Steps for Replacing the Chainsaw Chain
To make the replacement process clearer and easier to understand replace chainsaw chain, whether you are a gardening novice or new to tool maintenance, we will break it down into detailed and highly practical steps. Each step includes key details and precautions to ensure a safe and smooth operation, helping you easily complete the chain replacement:
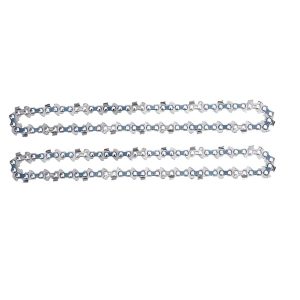
Safety Preparation
Complete Power Disconnection: You need to turn off the cordless chainsaw chain switch, remove the batteries, and place them in a dry place away from the work area to avoid accidental power-on;
Personal Protection: Wear cut-resistant gloves and safety goggles to prevent scratches from the chain or guide plates, and injuries from metal shavings;
Tools and Accessories: Prepare a compatible new chain, an Allen wrench, a brush, and chain lubricant.
Removing the Old Chain
Loosen the fixing bolts: Use an Allen wrench to rotate the fixing bolts on the side of the guide plate counterclockwise until loose;
Release the chain tension: Rotate the chain tensioner screw on the guide plate clockwise to loosen the chain and allow it to slide freely on the guide plate;
Remove the old chain: Disconnect the chain from the sprocket at the end of the guide plate, and pull out the connection between the guide plate and the chain to completely remove the old chain;
Clean parts: Use a brush to clean the guide plate groove, sprocket, and inside the chainsaw body to remove sawdust and oil stains, ensuring the mounting surface is free of impurities.
Install the Cordless Chainsaw Chain
Confirm chain direction: Identify the chain’s cutting direction. The cutting edge should face the front of the chainsaw to avoid reverse installation.
Embedding the chain with the guide plate: Insert the new chain into the guide plate groove to replace chainsaw chain. Ensure the chain joint and the sprocket at the end of the guide plate are fully engaged, and that the chain links fit snugly against the guide plate while install chain.
Reset the guide plate: Place the guide plate back into its mounting position on the chainsaw body, aligning it with the fixing bolt holes, and gently press it against the body.
Initial securing: Use an Allen wrench to tighten the fixing bolts clockwise until it slightly fits against the guide plate.
Tension Adjustment and Fixing
Tightening: Rotate the tensioner screw counterclockwise to gradually tighten the chain until, when you lift the middle of the chain by hand, 3-5mm of the chain protrudes below the guide plate.
Smoothness Check: Pull the chain with both hands to ensure it slides smoothly along the guide plate without any jamming or sticking, and the tension is even and not loose.
Tightening Bolts: After adjusting the tension, use a wrench to tighten the guide plate fixing bolts clockwise to ensure the guide plate is firmly attached to the machine body.
Secondary Check: Pull the chain again to confirm that the tension remains unchanged and the guide plate does not shift.
Testing and Finishing
Adding Lubricating Oil: Add special lubricating oil to the cordless chainsaw chain lubrication tank to ensure the oil level is up to standard.
No-Load Test: Install the battery and run the chainsaw without load for 30-60 seconds, observing whether the chain runs smoothly and whether there are any abnormal noises or chain skipping.
Finishing and Cleaning: Turn off the power, remove the battery, clean the work area, and properly store the old chain and tools.
After put on a chainsaw chain, the cordless chainsaw regains its powerful cutting force, allowing you to efficiently complete various tasks. As a professional manufacturer of cordless power tools, MVM consistently focuses on high quality and practicality, precisely meeting the cutting needs of diverse scenarios such as home gardening and small-scale projects.
Whether you want to learn about the features of our full range of cordless chainsaws or have questions about tool use, feel free to contact us. We will provide assistance to ensure that every task you undertake is worry-free, efficient, safe, and smooth.