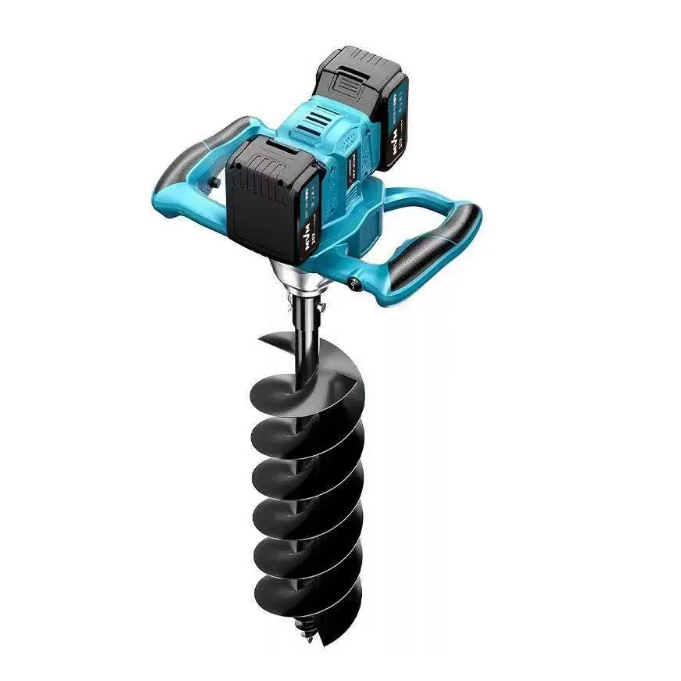
Easy Guide for Using Cordless Soil Tiller
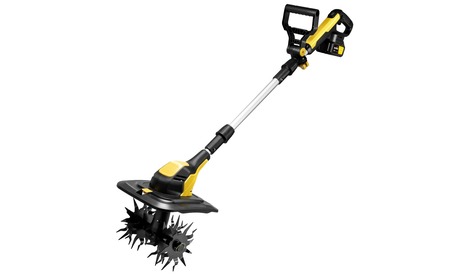
If your garden soil is hard, weedy and low in nutrients, a soil tiller can transform your planting ground with minimal physical strain. Tilling properly improves drainage, mixes organic fertiliser evenly and clears stubborn grassroots — but improper use will compact soil or clog your soil tiller easily.
This practical guide covers all core knowledge for new users, including the ideal time to till, full operation steps, common mistakes to avoid and post-use cleaning tips, helping you use your soil tiller to create loose, fertile soil for healthy plant growth.
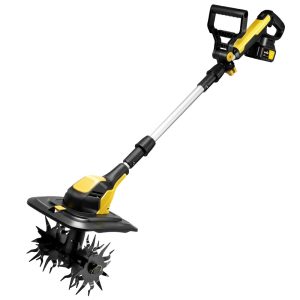
Why Use a Soil Tiller for Your Garden
Hand digging and raking are exhausting and inefficient for garden soil preparation, which is why most home gardeners rely on a practical soil tiller. Manual tools fail to fully loosen compacted ground, leave weed roots intact, and cannot blend compost evenly into the soil. A functional soil tiller solves all these common gardening headaches effortlessly.
Loosen compacted soil
Over years of planting, foot traffic and heavy rainfall, garden soil will turn dense and hard, which stops air, water and nutrients from penetrating down to plant roots. A soil tiller’s sharp rotating tines dig deep to break up solid earth layers, forming soft, porous soil. Well-loosened ground allows roots to stretch out freely, helping flowers and vegetables grow stronger and absorb nutrition better.
Evenly mix soil nutrients
Spreading compost, organic fertiliser and soil conditioners by hand always leads to uneven nutrient distribution, with rich clumps in some spots and bare poor soil in others. When you work with a soil tiller, all organic additives get fully blended into every inch of your planting bed. Balanced fertile soil creates steady growing conditions for all kinds of garden plants and improves overall crop output.
Cut down weed growth
Stubborn weeds with tangled roots are hard to remove completely with shovels or rakes. A soil tiller slices through underground grassroots and buries surface weed seeds deep beneath the soil layer. It stops weeds from sprouting quickly after planting and greatly lowers your regular weeding chores throughout the growing season.
Save time and labour.
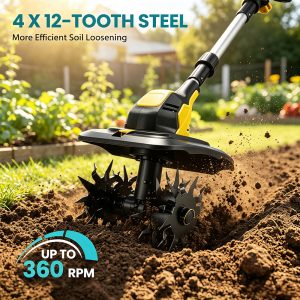
The Best Time to Use Soil Tiller
Tilling at the wrong time ruins soil structure and shortens the service life of your soil tiller, so it’s critical to pick proper weather and soil conditions before you start working the land. Below are the ideal tilling windows and clear rules to avoid damaging your garden.
Ideal season
Spring and autumn are the two most suitable seasons to run your soil tiller. Early spring, once frost fully disappears and soil thaws, is perfect for prepping new vegetable and flower beds. Tilling at this time warms up cold soil and makes it ready for sowing. After harvest in late autumn, tilling works great to mix fallen leaves and crop residues into the ground, letting organic materials decompose over winter to enrich soil fertility.
Avoid extreme weather conditions
Never operate your soil tiller under heavy rain or intense heat. Tilling right after rain leads to sticky mud buildup on the machine and damaged soil texture. When the ground is extremely dry under hot summer sun, the soil turns into thick dust. Dry tilling wastes water, creates uneven ground and puts extra strain on the motor of your soil tiller. Wait for mild, cloudy days with moderate soil humidity for the best tilling results.
Match depth to different plant
Adjust your soil tiller’s working depth based on your planting goals when timing is right. Shallow 3–4 inch tilling fits quick topsoil loosening for existing flower beds. A deeper 6–8 inch tilling is ideal for new vegetable plots to create soft rooting space. For wild wasteland renovation, maximum depth tilling breaks up thick hard soil layers to build a fresh planting foundation.
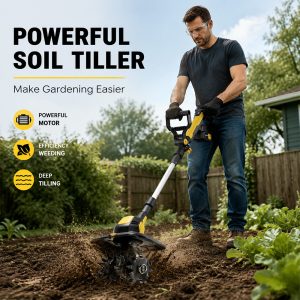
How to Till Soil Properly
Mastering standard tilling steps helps you get fine, even planting soil while protecting your soil tiller from excessive wear. Follow this step-by-step workflow for smooth, efficient garden preparation.
Clear the site in advance
Walk over your entire garden plot and remove all hidden hazards before starting the machine. Pick out stones, broken branches, old plastic debris and thick tangled roots. Hard rocks will bend or crack the metal tines, while long weed roots easily wrap around the shaft and block rotation. Clearing the ground first cuts down machine clogging and prevents costly part damage.
Adjust tiller settings
Customize your tiller to match your plot and height. Set the tilling depth according to your planting needs: shallow depth for flower bed maintenance, medium depth for vegetable gardens, and maximum depth for wasteland renovation. Adjust the handle height to fit your posture to avoid back strain during long working hours. Double-check the tines and power system to make sure the machine works normally.
Make the first light pass
Start with a shallow depth for your first round of tilling. Move the tiller slowly in straight lines across the whole area. This top layer pass chops up surface weeds and breaks large dirt clumps, clearing the ground for deeper cultivation later. Do not push the machine fast; rushing leads to incomplete soil breaking and uneven ground.
Handle tight corners and edges
Fences, plant rows and narrow borders cannot be fully covered by wide straight passes. Slow down the tiller and use short, gentle movements to work along edges. For extremely narrow gaps, you can combine light tilling with hand raking to smooth the soil without hitting walls or plant roots.
Post-Tilling Machine Maintenance
Clean off soil and weeds
Clumps of wet mud and tangled weed roots will harden on tines and shafts if left unattended. Use a brush and low-pressure water to wash away all dirt, grass and roots stuck on blades, wheels and the machine body. Never leave wet debris overnight, as it causes corrosion and affects rotation flexibility.
Lubricate moving parts
Dry friction on shafts, bearings and wheel axles accelerates part wear. Wipe moving parts dry first, then apply a thin layer of special machine lubricant. Lubrication can prevent rust and make the tiller run smoothly with less noise.
Dry and store the tiller properly
Leave the tiller in a ventilated place until all metal parts are fully dry. Store it indoors away from rain and damp ground. If long-term storage is needed, cover the whole machine with a dustproof cover to avoid dust and moisture erosion.
By following the complete tilling steps and post-work maintenance tips shared above, you can achieve soft, fertile garden soil while keeping your soil tiller in top condition for years to come. Whether you are a beginner gardener or a seasoned planting enthusiast, mastering standard tilling and maintenance routines will greatly cut down your gardening workload and improve your harvest quality.
If you are looking for a high-performance, low-maintenance soil tiller to simplify your garden work, look no further than MVM. Our upgraded tillers feature anti-tangle tines, lightweight bodies and durable power systems to tackle all your tilling challenges effortlessly. Feel free to contact us to learn more details, get product specifications or secure your ideal garden tiller today.