How to Prep Cordless Snow Removal before Winter
Many homeowners wait until the first snowfall to get ready for snow removal, only to face unexpected malfunctions: dead batteries, stuck augers, worn skid shoes, or clogged chutes. Emergency repairs in freezing weather are costly, time-consuming, and often delay urgent snow removal work. A complete pre-winter inspection is the most effective way to ensure your snowblower delivers stable, reliable performance throughout the entire snow season. This detailed checklist covers all key inspection points for cordless snow-clearing equipment, helping you eliminate hidden risks in advance.
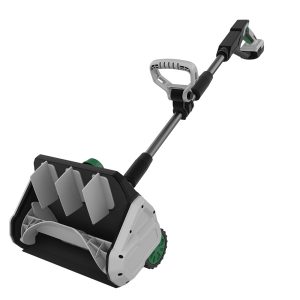
Why Pre-Winter Snow Removal Inspection Is Essential
Snow-clearing equipment remains idle for months during spring, summer, and autumn. Long-term static storage easily causes battery discharge, metal rust, lubricant failure, and parts aging. Minor hidden problems that are ignored in off-seasons will turn into serious failures during high-intensity winter snow removal.
A thorough pre-winter inspection brings three core benefits: avoiding sudden breakdowns during snow removal, extending the service life of key components, and ensuring safe and efficient operation in low-temperature environments.
Battery Power System Check
The battery is the core power source of cordless snowblowers and the most vulnerable part in low-temperature environments. Before the snow season, fully charge the battery and test its continuous working performance to confirm no abnormal power drop. Wipe clean the battery surface and charging contacts to remove dust, moisture and oxide layers, ensuring stable charging and power output for daily snowblower.
In addition, check the brushless motor for abnormal noise and stalling. A qualified brushless motor can maintain stable power output in freezing weather, effectively avoiding power attenuation and operation stuck problems during snow clearing.
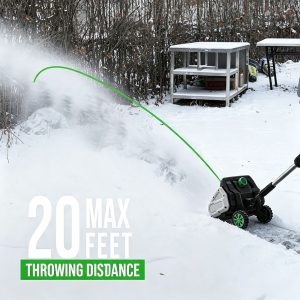
Auger Core Rotating Parts Inspection
The auger is the main working component that contacts snow, and it is easily worn and deformed by gravel, hard ice and thick snow during snowblower tasks. Carefully check the auger blades for cracks, bending, excessive wear or rust spots. Confirm all connecting bolts are tightly fixed to avoid loose parts during high-speed rotation.
Manually rotate the auger to test flexibility, clear residual ice, snow debris and gravel trapped inside the machine. Smooth rotation of the auger is the key to preventing snow clogging during formal snow removal.
Skid Shoes Ground Clearance Adjustment
Skid shoes determine the ground clearance of the snowblower, which directly affects the snow removal effect and driveway protection. Check the wear degree of the skid shoes; replace them in time if they are severely worn, to prevent the auger from touching the ground and scraping pavement or scooping gravel during snow clearing.
Adjust the skid shoes height according to your driveway type: raise the height appropriately for gravel driveways to retain a thin snow buffer; adjust to a flat and low state for asphalt and concrete driveways to achieve thorough snow removal.
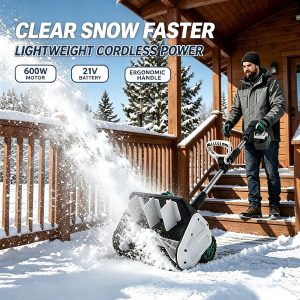
Chute Deflector Function Test
Stale snow and dust accumulated in the chute during off-seasons can easily cause snow clogging in winter snowblower. Thoroughly clean the inside of the discharge chute and deflector to keep the passage unobstructed. Test the rotation and lifting functions of the chute to ensure flexible adjustment of the snow throwing direction and angle.
Smooth chute operation ensures long-distance and uniform snow throwing, improving overall snowblower efficiency.
Tires Chassis Overall Inspection
Check the tire pressure and tread depth to ensure the tires have sufficient anti-slip performance on icy and snowy ground. Inspect the chassis for rust, paint peeling and loose parts, and do a good job of anti-rust treatment in advance for upcoming snow blower tasks.
Lubricate the rotating shafts and movable joints of the chassis to eliminate dry friction, ensuring flexible walking and steering of the snowblower during operation.
Safety Device Inspection Trial Operation
Check key safety devices such as the emergency stop switch to ensure sensitive and effective response. Fasten all loose screws and check whether the spare parts and tools are complete. After all inspections are completed, perform a 30-second no-load trial operation to observe the machine’s operating sound and running state, confirming no abnormal vibration or noise before official snow blower.
A pre-use trial operation can effectively avoid safety hazards and equipment failures in formal snow blowe work.
A systematic pre-winter inspection is the best way to keep your snowblower in peak condition throughout the snow season. By checking the battery, auger, skid shoes, chute, tires and safety components in advance, you can avoid unexpected breakdowns, reduce maintenance costs, and enjoy smooth, efficient snow blowe all winter long.
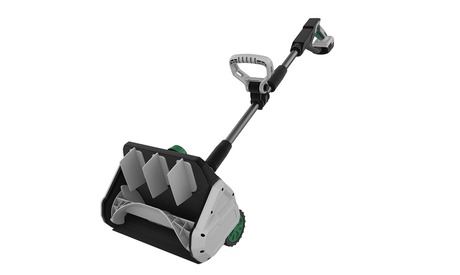
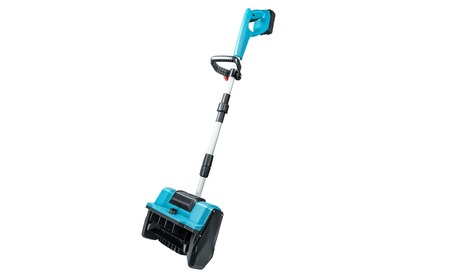
If you are looking for a high-performance, low-maintenance cordless snowblower for your winter driveway maintenance, MVM’s new upgraded snowblower is your ideal choice. Equipped with high-efficiency brushless motor, adjustable skid shoes and low-temperature resistant battery, it adapts to various road conditions and winter environments. Feel free to contact us to learn more product details and get professional winter snow blowe equipment solutions.