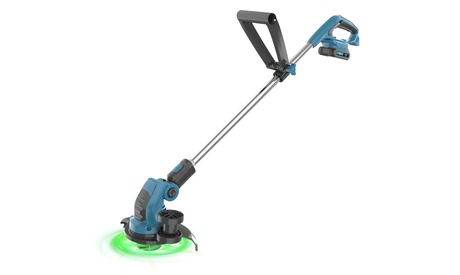
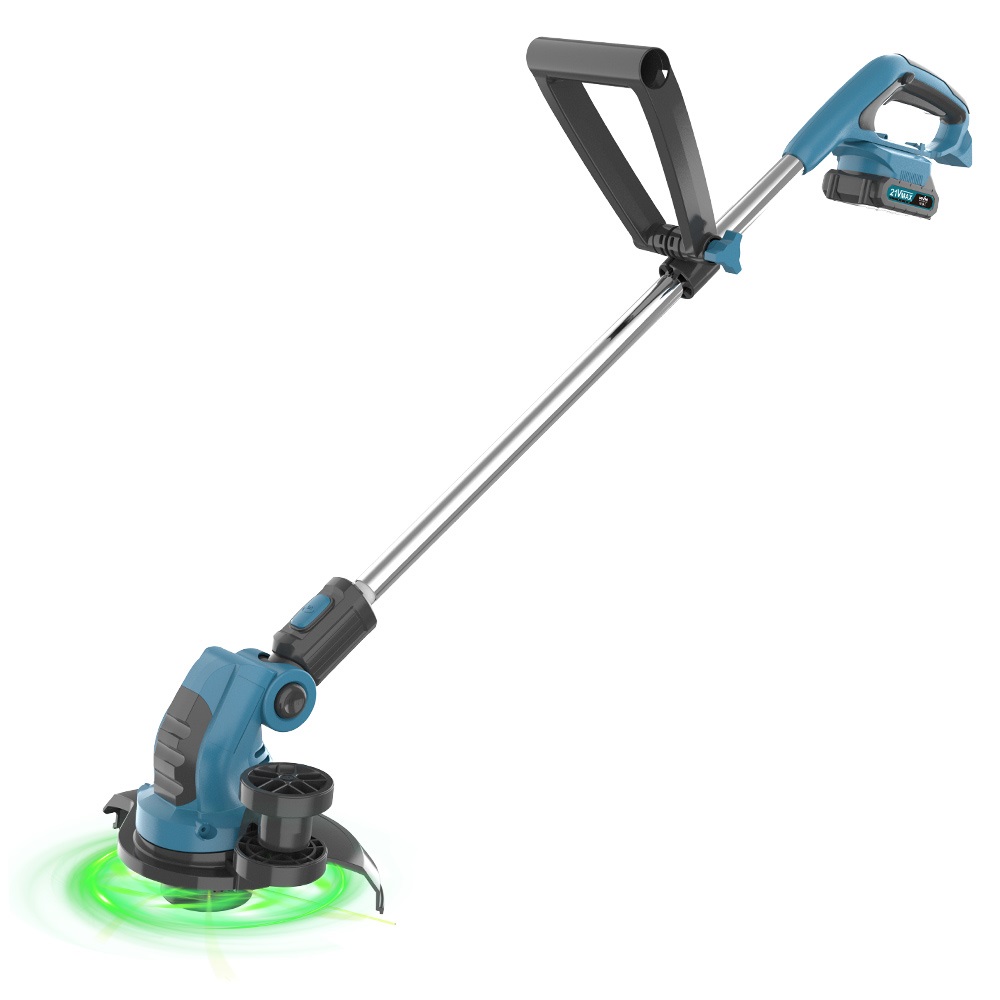
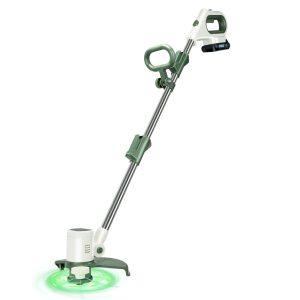
Grass string is the core cutting component of a cordless grass trimmer. After prolonged cutting of weeds and contact with soil, the cordless grass trimmer string inevitably wears down, breaks, or becomes completely worn out. This not only significantly reduces cutting efficiency and results in incomplete weed removal, but can also cause equipment jamming and rope release malfunctions due to loose or improperly wound rope, affecting the smoothness of operation. Replacing lawnmower grass line is actually quite simple and requires no professional skills. As long as you master the correct steps, you can quickly complete the operation. Mastering this basic maintenance skill can quickly restore the lawnmower’s strong cutting power
Why Need to Replace the Cordless Grass Trimmer String
Old Mowing Ropes: Increased Wear and Trouble
As a core cutting component of cordless trimmer, the mowing string inevitably wears down, thins, breaks, and may even be completely worn out due to high-frequency friction during long-term cutting in weeds and soil. With increased use, the mowing rope also gradually ages, exhibiting decreased elasticity and brittleness, making it prone to sudden breakage at high speeds. Scattered rope fragments can potentially injure operators or the surrounding environment. Furthermore, if the old rope is loosely wound or has insufficient remaining length, it not only directly reduces the effective cutting radius, leading to incomplete weed removal and a significant decrease in work efficiency.
New Mowing Ropes: Refreshed Performance
Replacing with a new, compatible cordless grass trimmer string in a timely manner provides comprehensive protection for both the operation and the equipment. The new rope boasts uniform tension and adequate toughness, effectively mitigating risks such as breakage, splashing, tangling, and jamming during operation, significantly improving operational safety. Its sharp cutting edges quickly sever various weeds, avoiding the hassle of repeated cutting and significantly saving working time and effort. Simultaneously, the compatible new mowing rope ensures smoother motor operation, reducing overload issues caused by old rope malfunctions, thus protecting critical components such as the head gear and pawl from additional wear and tear, extending the overall lifespan of the cordless lawnmower.
How to Replace Grass Trimmer String
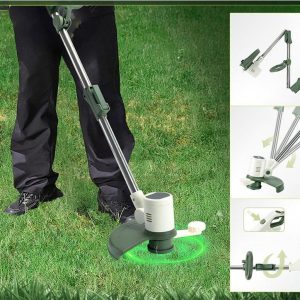
As a core cutting consumable in cordless grass trimmer, the mowing rope inevitably wears down and breaks after prolonged use. Timely replacement is essential to ensure operational efficiency and safety. The replacement process requires no professional skills; simply follow the scientific logic of safety preparation, disassembly, winding the new rope, and resetting. Each step is simple, easy to understand, and easy to operate.
Safety Preparation Before Replacement
Complete Power Disconnection: First, remove the battery from the cordless grass trimmer to ensure the device is completely powered off, eliminating the risk of accidental cutting caused by accidentally activating the start switch.
Personal Protective Equipment: Wear cut-resistant gloves to avoid cuts from sharp rope ends or parts. Wear safety goggles to prevent grass clippings and dirt from entering your eyes, providing comprehensive protection.
Prepare the Operating Environment: Place the grass trimmer stably on a flat, dry work surface or ground. Clear away surrounding weeds and debris, and keep it away from children and pets to prevent unauthorized personnel from approaching and causing accidents.
Prepare tools and accessories: Prepare a new, compatible mowing rope in advance, ensuring the diameter matches the markings on the mower body. Also prepare an Allen wrench or screwdriver, and a pair of scissors for cutting the rope.
Disassemble the Spool Assembly
Remove the protective cover: Due to differences in mower models, the disassembly method varies slightly. For threaded mowers, unscrew the screws clockwise with a tool. For snap-on mowers, simply press the clips on both sides to pop them out. For rotary mowers, rotate them in the direction indicated on the markings to easily remove the protective cover.
Remove the spool assembly: Gently pull the spool out of the mower head’s inner cavity. Carefully clean the spool surface and the inside of the mower head to remove any remaining old rope, weed debris, and dirt, as these impurities can affect the mower’s performance after installation.
Check the condition of core components: After removing the spool, check each spool for damage and ensure the springs are intact and unbroken. If any parts are found to be damaged, replace them with the same model before proceeding to avoid rope feeding problems after installation.
Winding New Grass Rope
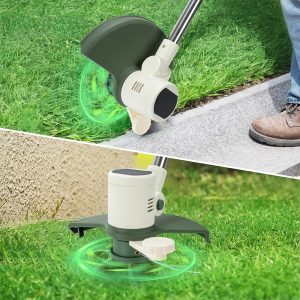
Cutting to Appropriate Length: Refer to the cordless trimmer string instruction manual and cut the new grass rope to the recommended length using scissors. The length should ideally be between 5-8 meters. Too long, and it will easily become tangled and knotted; too short, and frequent replacements will be necessary, affecting work efficiency.
Securing the Rope End to Prevent Loosening: Locate the threading hole on the spool. Insert one end of the new grass rope into the hole, leaving 3-5cm of rope, and tie a knot to secure it. Ensure the rope end is firmly secured in the hole and will not come loose during winding.
Even and Tight Winding: Strictly follow the arrow direction marked on the spool (winding direction indicated by the arrow). Gently pull the rope taut while winding to ensure the grass rope is tightly and neatly arranged within the spool’s groove, avoiding overlap or looseness, ensuring smooth subsequent unwinding.
Leaving a Reasonable Outlet End: Stop winding when the spool is 80% full. Leave 10-15cm of rope as the outlet end, and trim off the excess with scissors to ensure the outlet length meets usage requirements.
Spool Reset and Adjustment
Precise Spool Installation: Smoothly place the trimmer string with the new rope wound back into the machine head cavity, ensuring precise engagement between the spool and the gears and pawls inside the machine head, and that the spring is in a natural extension state without any jamming.
Straighten the Rope End: Thread the pre-existing 10-15cm of straw rope through the outlet hole in the protective cover. Gently pull the trimmer string end to check if the straw rope moves freely without jamming or tangling.
Functional Test Confirmation: You need to reinstall the rechargeable battery back into the cordless trimmer string and start the equipment for no-load operation. Gently press the automatic rope release button to verify smooth rope release and no abnormal noises during operation, confirming that the replacement and installation are complete.
Properly replacing the mowing rope ensures your cordless lawnmower maintains excellent cutting performance. MVM, a professional Chinese manufacturer of cordless gardening tools, not only provides highly adaptable and durable mowing ropes and complete machines, but also offers professional usage and maintenance support. If you encounter any problems during the replacement process, or would like to learn about compatible, high-quality accessories and products, feel free to contact us. We’ll provide comprehensive support for your gardening endeavors.